When you purchase a theme outside of the Tumblr Theme Garden, most of the times the theme code will come in the form of an HTML file.
If you purchased a Tumblr theme from us, you will get a zipped archive containing a “theme” folder with one or more files with a .html or .txt extension. This file will include the name and version of the theme so you know exactly what you’re installing. For example: pixelmoxie-monobloc-theme-v1.0.0.html or pixelmoxie-monobloc-theme-v1.0.0.txt.
To manually install a custom Tumblr theme, you only need a plain text editor and a visit to your Tumblr dashboard.
Open your theme file
Open the supplied theme file on your favorite text or code editor.
Windows users should avoid Microsoft Word and other rich text editors, as they are not plain text editors. They will mangle the content and won’t work for this step. You should open the HTML file with Notepad instead, which comes by default with all Windows operating systems.
Mac users should avoid Pages and Microsoft Word as they are not plain text editors. They will mangle the content and won’t work for this step.
TextEdit is a basic text editor shipped with all Macs as part of the bundled apps, but it needs to be configured to properly handle HTML files. Follow the steps outlined in this article to configure TextEdit so it displays your HTML file as HTML code instead of rich text.
Alternatively, you can download and install a copy of Sublime Text, Atom, or Visual Studio Code, which are available for both Mac and Windows.
Once the file is open, select and copy all of its contents.
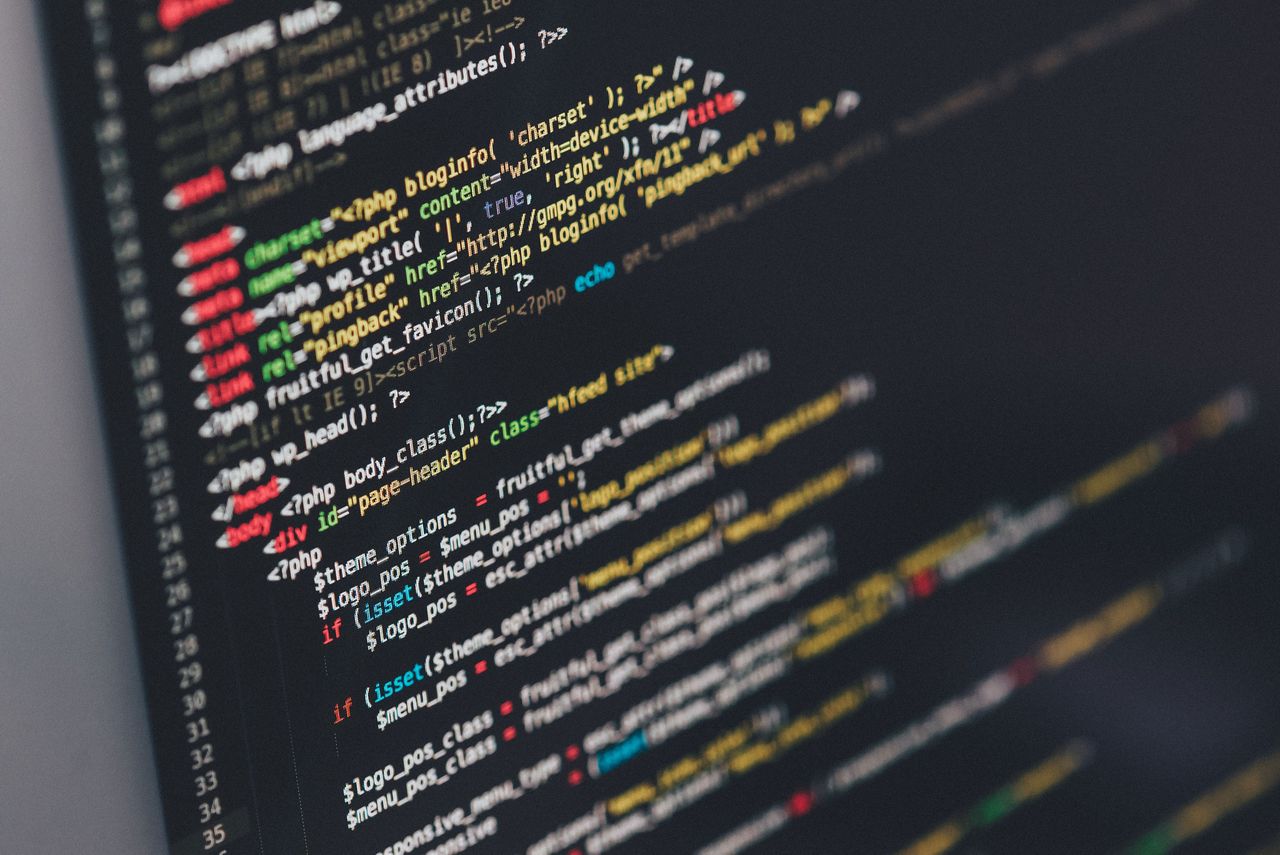
This is what the code for one of our themes looks like in Visual Studio Code. You’ll want to make sure that HTML tags are displayed and the content is not being formatted by the app.

First Time Install
Open your web browser and go to your Tumblr dashboard. Log in to your account and click on the user icon along to top of the page.

From the drop-down list below, select the blog you want to install your Tumblr theme on, then click on the Edit appearance button.

Once on your General Settings page, click on the Edit theme button.

Click on the Edit HTML button, right below the theme name.

Now select all of the HTML that appears and replace it with the contents you copied from your HTML file.

Now you can click the Update Preview button to preview the changes and then Save button to save them.

Now it’s time for some basic configuration. Scroll down to the bottom of the customizer and click on Advanced options. If you want your custom theme to be displayed on phones, make sure the Use default mobile theme toggle is disabled. When this option is enabled, the default Tumblr iPhone theme will be used instead.
From here you can also use the Posts per page drop-down to set how many posts should be displayed per page. This is particularly important for portfolio themes.

That’s it! You’re now ready to start customizing your theme.
Updating Your Theme
Our themes are updated regularly with bug fixes and features additions. Once an update is available, you can re-download the theme package and apply the update. We recommend you subscribe to our newsletter to be notified about new theme releases and updates.
To update a custom Tumblr theme, you simply repeat the installation steps, replacing the old code with the updated one. Your customizer settings and any Custom CSS that you added will be preserved. However, any changes made to the theme HTML code will be lost, so if you have modified the theme code in any way, make sure to make a backup of the customized code and re-apply your changes after finishing the update.